Laid and Untraceable: How to Nail That Natural Hairline with Your Lace!
Share
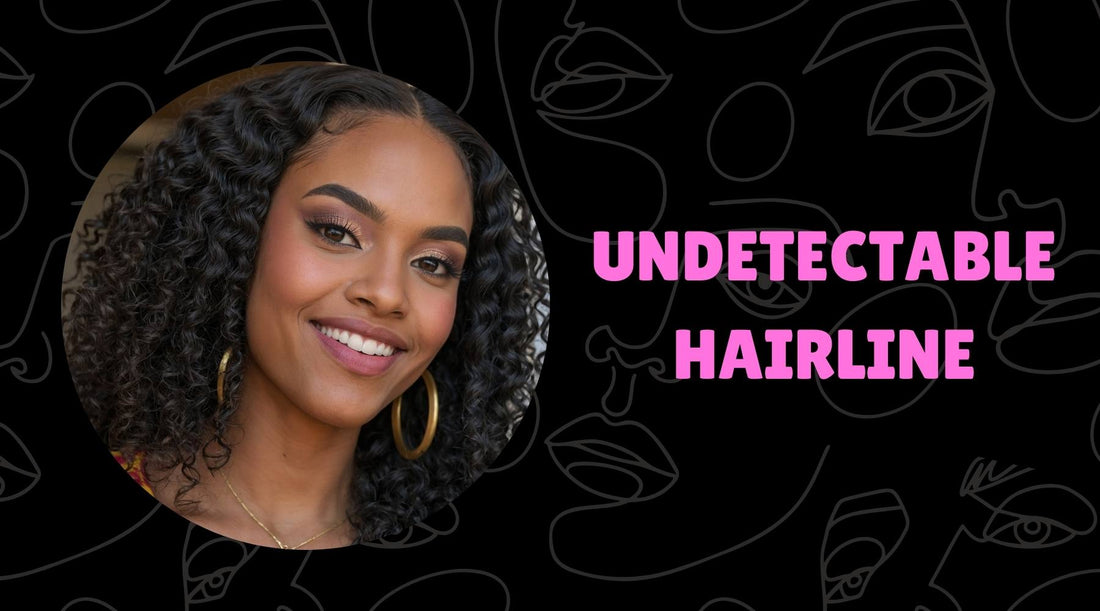
When you can't tell where the lace ends and your hair begins, you know you've nailed it!!!
So you're out with the girls, and the compliments start rolling in. "Girl, who's your stylist? Your hair looks incredible!"
You smile, maybe toss in a little hair flip because, deep down, you know the secret—they can't tell where your lace ends.
It's seamless, undetectable, totally laid. No hint of lace showing. That's how you know you've nailed it!!! 😋
But enough with the imagining, sis.
How 'bout we bring that perfection to life? I come bearing all the juicy tips you need to melt your lace frontal like a pro.

Tools You'll Need to Install a Lace Frontal
Grab these essentials:
- Adhesive spray
- Hold glue
- Rat-tail comb
- Tweezers
- Small scissors
- Edge control or mousse
- Setting spray
Got everything? Good. Let's get that lace laid. Shall we?
*This works for HD lace frontal and transparent lace frontals.
Laying the Lace for That "Melted" Look
First, we'll secure that lace and blend seamlessly into your skin.
Like, if they lean in close enough to count your pores, they still can't tell. Stay with me, sis.
- You want to start by applying a thin layer of adhesive spray around the perimeter of your hairline, following the natural curve of your face. This step is important, babes.
- Using a toothbrush, gently brush your baby hairs into place while blow-drying as you brush. You want to keep everything smooth and ready for the lace.
- Now lift the lace gently and apply some hold glue along the hairline, dotting a thin line along the perimeter. Smooth it out with your rat-tail comb. Let it dry a bit, then go over it with another thin layer of glue.
- Carefully press the lace into the glue using your rat-tail comb to smooth down any bumps. Wrap a scarf around your hairline and leave it for 10-15 minutes to set. This is where we get that melted look everyone's raving about.
Pro Tip: For that smooth blend, I like to apply a little foundation or lace tint to the lace before laying it down. This one's like an Instagram filter for your hairline—pure magic!
This also can come in handy when installing lace closures.

Get Plucking For a Natural Frontal Hairline
Now our lace is all laid, it's time to go in with the tweezers to create a soft, natural look.
- Plucking is your secret weapon for adding dimension to the hairline. Who wants that dense, unnatural look, by the way? So we go in with our tweezer to make the hairline look more like your own hair. Follow this guide for a seamless look.
- Don't go plucking randomly. Girl, you've got to keep it controlled. You want to work in sections to keep everything looking even and natural.
- To create a natural gradient effect, pluck a few hairs at the front so the hairline looks a bit thinner. Take your time; you want a soft, blended look.
- You want to jump around a bit as you pluck to avoid bald patches. This keeps the hairline looking balanced, like the perfect winged eyeliner.
You get? So you've nailed the plucking, the hair is already giving—but we're not done yet!
Grab your 13x4 Deep Wave HD Lace Frontal for the next step.

Trimming and Melting the Frontal
Next up, we trim and melt that lace for the perfect skin illusion.
- Use the small scissors to trim the lace. I recommend a subtle, gentle zigzag. This creates a more natural, untraceable look (we getting closer to the goal sis). I try not to cut too deep into the hairline—just enough to give a soft finish from ear to ear.
- If any areas need a touch-up, apply a small dab of glue along the edges.
- I like to pour some melt spray into a container, dip a makeup brush, and apply it along the edges. It's my secret hack for that real skin look.
You want to wrap an elastic band around the edges for a few minutes. This final step just has a way of helping everything stay in place while blending perfectly into your skin.

Baby Hairs, The Cherry on Top
Girl!
We can't forget the baby hairs.
These little deets make the hairline look soft, natural, and undetectable.
To Create Baby Hairs:
- Gently pull out a few hairs along the hairline. To create natural-looking baby hairs. You don't need a lot, just enough to frame your face naturally.
- Use your small scissors to snip them to your desired length. You want to keep it short and cute
- Grab your edge control or mousse, and use a toothbrush or small brush to lay them baby hairs. Go for soft, curved shapes rather than sharp angles.
Keep in mind that less is more here. We want just enough to give that effortless, natural finish.

Maintenance Tips to Keep a Frontal Looking Fresh
Now that your lace is perfectly laid, you want to keep it that way.
Here's how to make sure it stays fresh and flawless with these care tips.
- Keep your hands off your hairline, sis. Oils from your fingers can weaken the adhesive and lift the lace. Keep it cute and hands-free.
- If you notice any lifting, don't panic. A tiny dab of adhesive and a quick press-down are all you need to secure it.
- Just like you'd set your makeup, give your hairline a spritz of setting spray to lock everything in. This helps keep it looking fresh longer.

The Perfect Hairline
Girl, nailing a natural hairline with a lace frontal takes time, practice, and a large serving of patience.
But once you've got it down?
You're gonna love it! You'll be serving that laid, untraceable realness that no one can clock. 🔥
So grab your tools, and take your time while installing your lace frontal.
You've got this! Because when that hairline is on point, there's really nothing you can't do, Diva.


