Diva-Approved Lace Closure Install: Turn the Heads
Share
Babe, you don't want to read this if you're not ready to get heads turning and jaws dropping.
Because this lace closure install guide will take your look from cute to jaw-dropping, head-spinning diva realness!
Yass!!! I'm not even kidding when I tell you it's easier than you think. 😚
I'm talking about getting that lace to melt into your scalp like magic, no ghostly partings, no weird patches, just you looking fire.
Sit tight cos I'm gonna be spilling!!!

Step 1: Prepping Your Lace for That Perfect Fit
You gotta set the stage, sis.
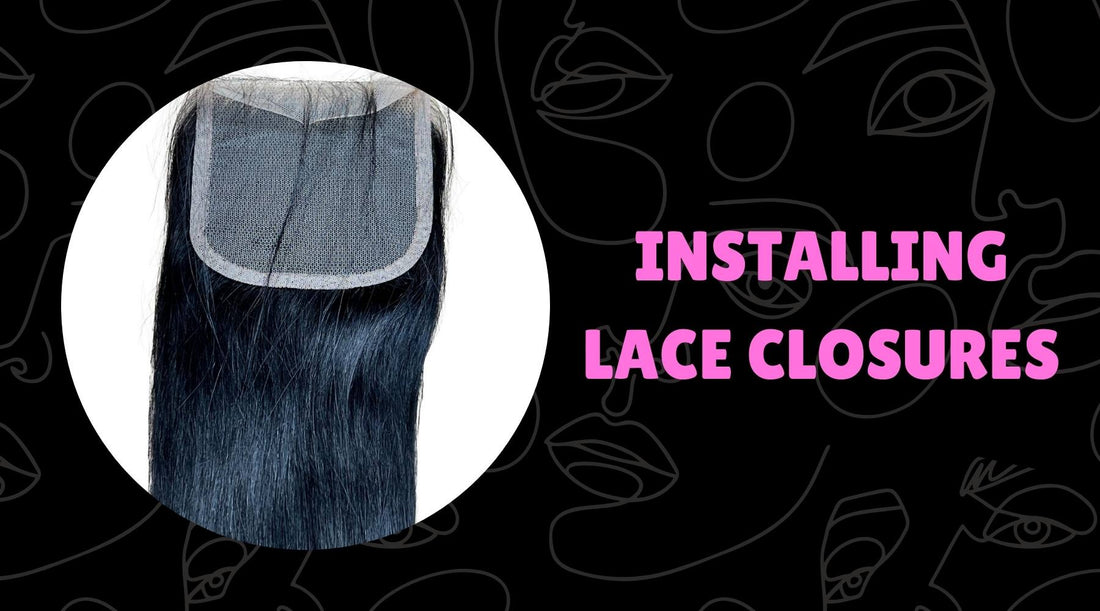
It's the groundwork for this masterpiece we're about to create. So, grab your HD lace closure or transparent lace closure and get ready to show it some love.
You want to start by washing and detangling both your scalp and the lace closure.
You want everything fresh and smooth, with no tangles trying to mess up your flow.
If you're wondering, "Do I really need to wash it every time?"—yes, babe. A clean slate is key to making sure that lace blends effortlessly.
What you want to do next is to braid your natural hair to provide some kind of foundation so you can place the wig cap on it.
Now, you're ready to place that beauty on your head.
Position it carefully… that's right. And you have many options, whether it's side, middle, or deep side part.
Find that sweet spot, and you're already halfway to perfection. Just use some hair clips to keep it still.

Step 2: Snip that Lace Like a Pro
You've got to scissors up!
This part might sound a little intimidating, but you've got this. Keep in mind, however, we are doing small snips, not big chops.
When you're cutting the lace, take your time. You're not out here giving the lace a buzz cut; you're shaping it, trimming close but with a little room to blend into your hairline.
Use small, zig-zag cuts instead of a straight line.
Our goal is to mimic the natural shape of the hairline. Straight lines are for rulers, not lace closures. Got it?
Pro Tip: You've got to slow down, sis, don't rush this step. I like to think of it as me trimming a delicate piece of fabric cos it is what it is!
Take small sections and keep checking in the mirror to see how it's looking.
Patience is just as important as the glam look we're looking to achieve.
Learn about Styling Hairline with Lace Extensions.

Step 3: Gluing or Sewing
This is where it gets good.
You can sew your lace closure into your wig cap or use some adhesive along with a blow dryer. Yep, we are turning up the heat—literally.
The Sew-In Method
Sis, if you're planning to keep this glam on your hair for a long time.
Then the sew-in is your vibeee!
- Bring your curved needle and thread.
- Sew the edge of the lace closure, securing it to the braids beneath the cap.
- Loop and pull the thread for more secured stitches.
- Sew around the lace and make sure it's flat and tight.
- Finally, tie a knot, then cut the excess when it's sewn and secured!
Who is this sexy lady!! OMG!
The Lace Glue Method
Are you a lace glue girl, and are you okay to wash and clean your lace repeatedly?
Then the lace glue is your call!!
- Apply some lace glue around the edges of your lace closure.
- Press it down to your hair or wig cap.
- Use a blow dryer in a low heat setting.
- And feel free to use extra lace glue if it seems insecure to you.
And BAM!! Slay it, queen!
Remember that is applicable on all types of closures like 4x4 closures and 5x5 closures.

Step 4: Styling to Slay
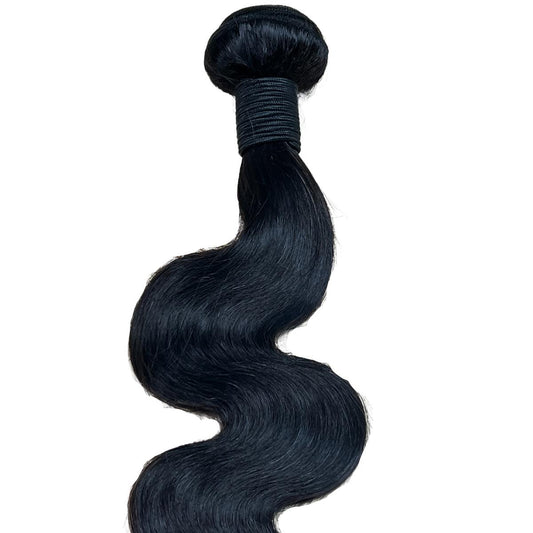
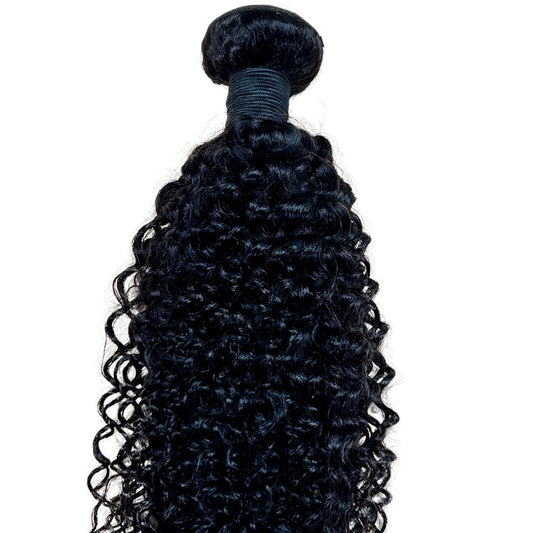
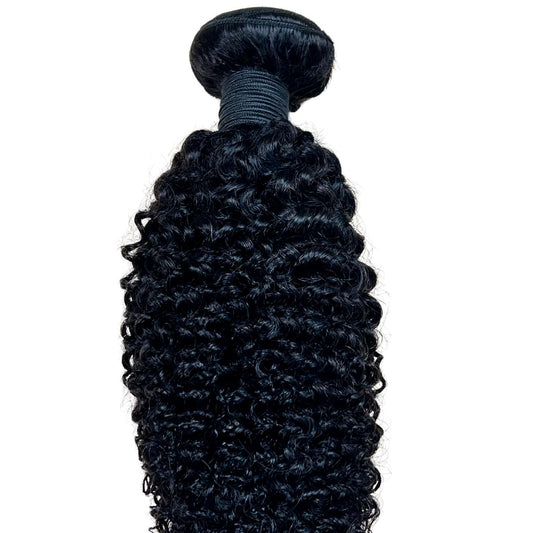
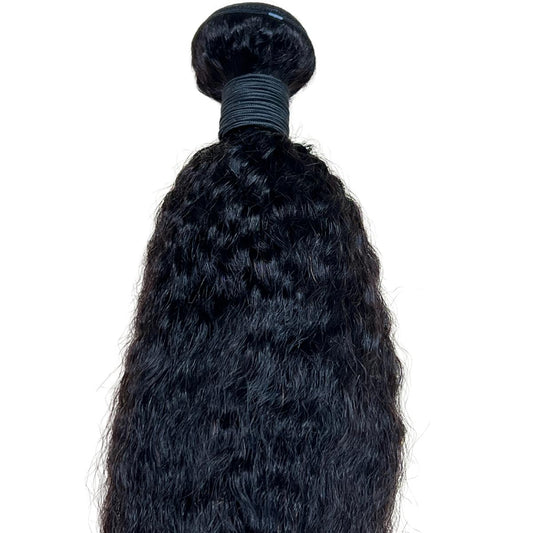
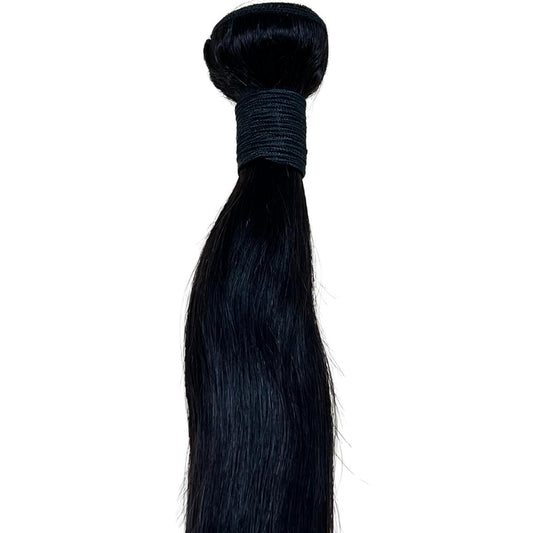
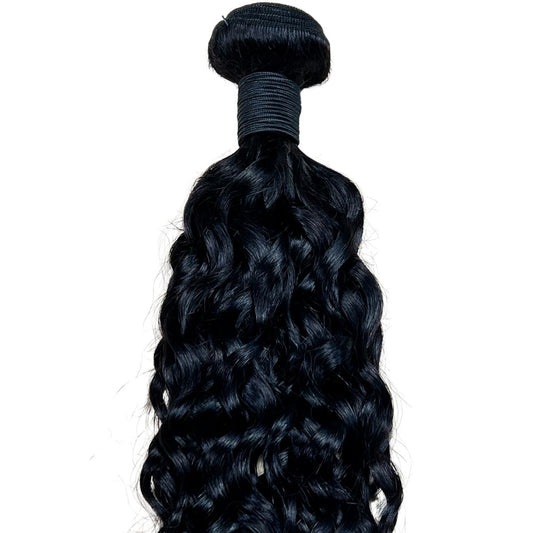
It's time to show off that inner diva with good human hair bundles!
Starting from the nape area and moving upward towards the closures.
You will want to install your human hair bundles the same way you install the closure, whether with glue or without.
Just keep building tracks upwards until you meet the closure base and make sure it's secured.
Use a similar texture, though; we made it easy with closures with bundle deals.

Step 5: Making It Look Real
For real, nobody wants to look like they have a ghostly scalp.
So, in this next step, we're gon' to make sure your lace matches your skin tone to a T.
Here's how you do it, queen.
Choose Your Tint:
You've got options here—lace tint spray, foundation, powder, or mousse.
Just choose whichever matches your skin tone the best. If you're using a spray, mist it lightly from about 6 inches away.
For foundation or powder (this one's my holy grail), just dab it on with a makeup sponge until it blends perfectly.
Pro Tip: Build it up gradually. A little goes a long way here, and you can always add more if needed.
This is where you really bring the lace to life. Just make sure it's blending in all the right places. It's a little like contouring—except for your hairline and edges.
Control Those Edges:
You can use a high-quality edge control gel to ensure it's a perfect match.
Some brands even provide mini edge control for your purse, so you can fix it anytime.
Style your baby hairs or edges using a small toothbrush or edge brush to sculpt those perfect swoops. It adds a natural, finished touch to it.
Plus, it's a vibe all on its own. Some divas go the extra mile and bleach the knots for the perfect TV look. It's up to you, be my guest!
Just cut the excess lace and pluck or part your hairline to own the style!
For the cherry on top, you want to make this look your own. Add volume, waves, curls, or whatever you're feeling.
If you're going sleek, get that flat iron out and make it pin-straight.
Going glam? Grab your curling wand and get those Hollywood waves popping.

Pro Tips for Making Your Lace Last
Bravo!!!
You've done all this work to get that lace perfect, so let's keep it looking that way.
I put together a few tricks to help make your installation last longer and to maintain your lace closures.
Watch the Heat
Lace isn't a big fan of heat.
Sure, a little bit of heat for styling is okay, but I'd advise that you try not to go overboard.
Too much heat can damage the lace lift or even get damaged, so it's best to keep that flat iron on a low setting.
Sleep Like a Queen
Wrap your hair in a satin or silk bonnet before bed.
You don't want your hard work getting messed up while you're catching Zs.
The silky material will protect the lace and keep it looking fresh.
You Can Reapply the Adhesive
If you feel the lace starting to lift a little, don't panic.
You don't need to start from scratch.
Just grab a bit of adhesive and gently reapply it to the lifted areas. It'll be good as new in no time.

Flawless Lace Closures Installation
And that's it, babe!
With this guide, you're officially ready to rock that lace closure like the boss you are.
A perfect lace closure doesn't just happen—it takes love, a lot of patience, and these bomb tips you just got.
So step into your looks and get ready to slay. 💋
Because you didn't just put on a lace closure; you put on an attitude, a whole vibe.
Heads are gonna turn, and jaws are gonna drop. You did that, queen.
Get a Kinky Curly 4x4 Transparent Lace Closure and start styling now!


